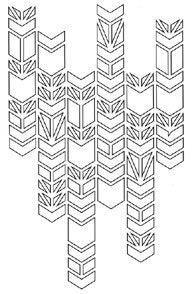
1. Narrow it down to a few must have collections. I noticed a pattern emerging in my wish list which included the same type of patterned paper designs from different manufacturers. I know you are going to say that each manufacturer is a little different. This is true, but the same trends are what was attracting me. Things like wood grain and chevrons. So after excluding the trendy papers or supplies, what were the elements of each collection that then drew my attention. This allowed me to determine which collections I truly coveted.
2. Can you replicate it with your supplies? We are often attracted to the same types of materials over and over again. Whether it's a favorite type of pattern or manufacturer, we already have a great collection of materials on hand. Look through what you have and see if you can remix your supplies to mimic the new kit collections. You might be pleasantly surprised and can save a buck or two while making your materials look fresh.
3. Do you kit club? If you subscribe to a kit club, chances are, you did so because you like the papers they put in their kits. Many kit clubs tend to work with the same manufacturers on a regular basis. This may mean that some of those papers you are wishing for right now will end up in one of your future kits. Consider staying away from those papers until you know for sure.
4. Learn to love 6X6 paper pads. Many manufacturers now make mini versions of their full kits. 6x6 or 8x8 pads are easy to store and offer you the full paper collection for around $5. You can get several of those collections on your wishlist for the price of one 12x12 kit. I know it might be missing stickers or alphas. However, time has taught me that I can make my own embellishments. I have a large supply of letter stickers and can cut my own as needed.
5. Compare the cost to the tool you really want. Time and time again, I hear people lament not having the budget to buy a new cameo or big shot. Then they just mention how they bought an entire new paper line. If you added up the cost of every pack of stickers, journal cards and paper, they could have bought that new tool instead. Comparing the costs just might make you consider what is a better investment for your supplies right now.
Remember, many of these new items will be on sale both in warehouse boxes and in on-line stores in a few months. If you still love the line that much then, you can pick it up at the sale price. You don't have to buy right now, but if you do, choose wisely.
As for me, I chose a few of the wood embellies I know I can't replicate at home. I got a couple of 6x6 pads for those must have new lines that I know I use and will love. If you are curious what some of my CHA favorites were, you can see a list of my top ten here. I didn't even get close to filling my whole list. Instead, I am hoping to save up for a Coharu washi tape printer along with some new stencils.


 This
This  A
A  The
The 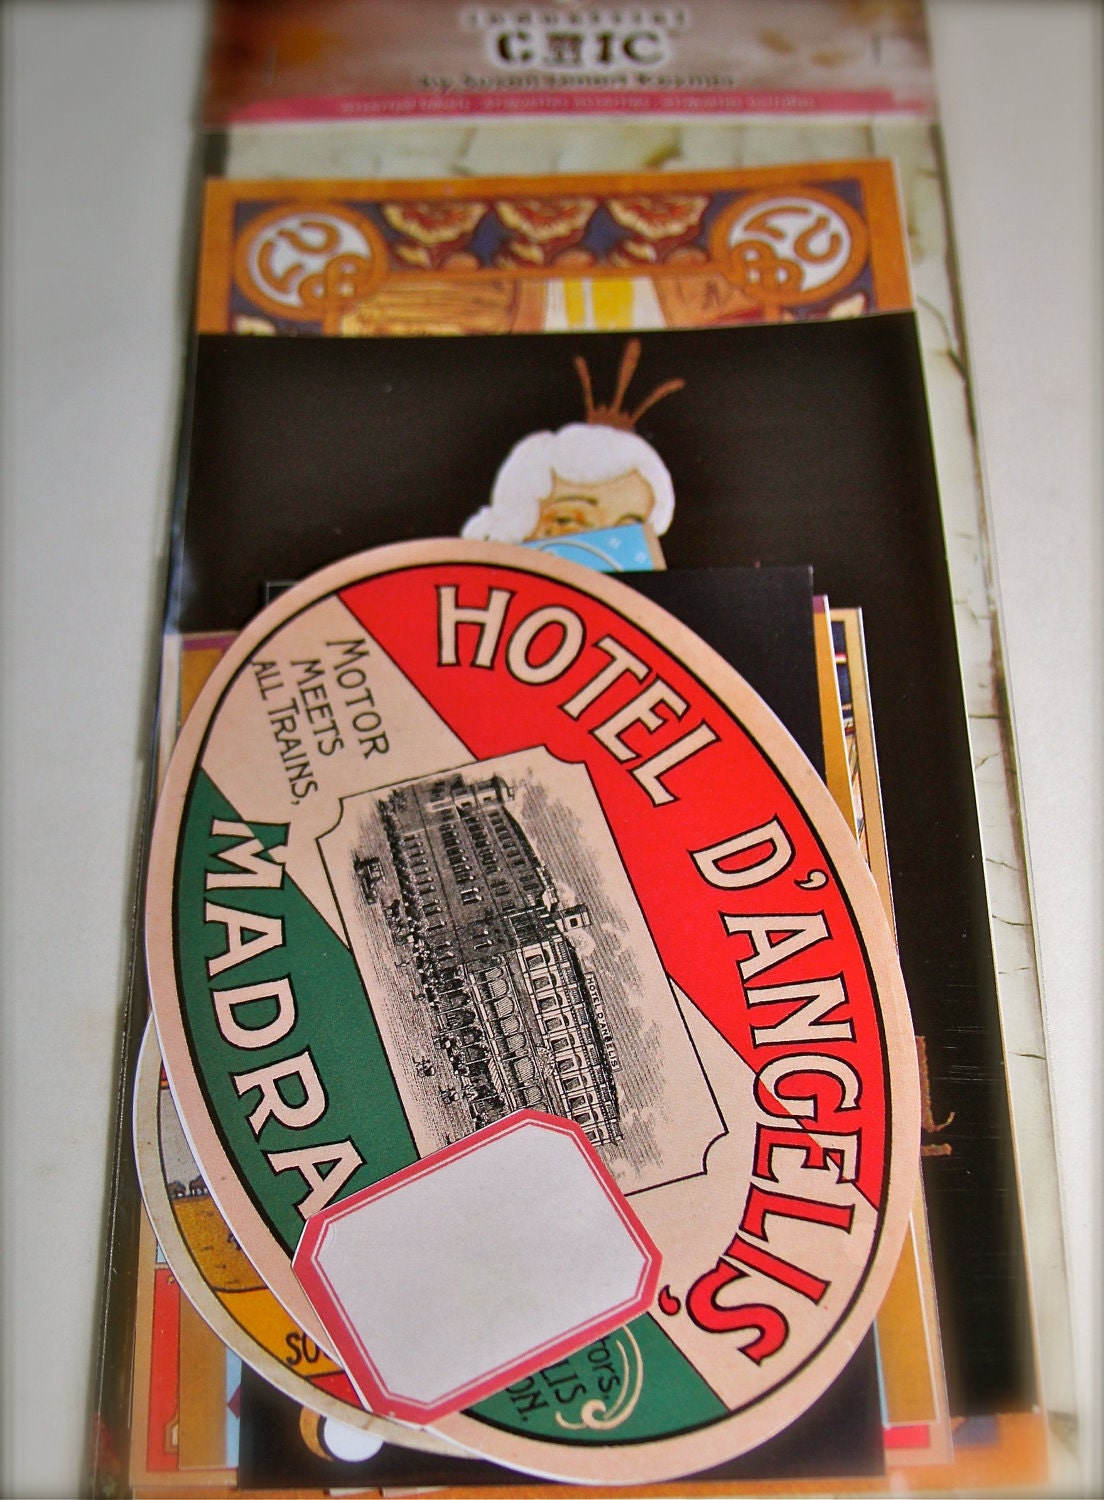 I always love
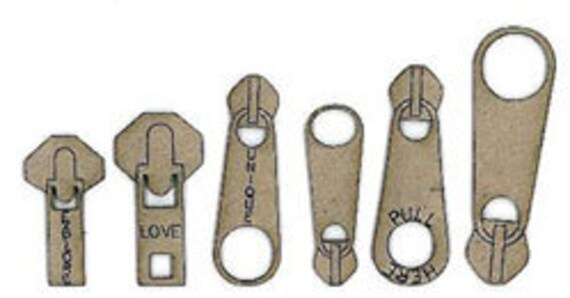 There are a lot of chipboard options, but I have never before seen