
I left my camera at home since the wedding was at a beach. I opted for some disposable waterproof cameras as I had no idea what we might encounter in regards to sand and water. When I began scrapping these pictures, I decided to try some of the 4x6 pocket sleeve style page protectors rather than the traditional 12x12. I had received a package of them for free with an album purchase.I figured this would be a great opportunity to use them since the photos were all standard 4x6 prints. I found there were a lot of pro's and cons to using these page protectors. You really need to plan where these will go in your album as the pockets are on both sides of the page protector. Using the photo sizes the pockets are intended for makes things a lot easier. I think If I had used one of the kits, like the simple stories line, which are designed for these types of page protectors, I would have had a much easier time. Once I got going though, it made for a quick and easy page.
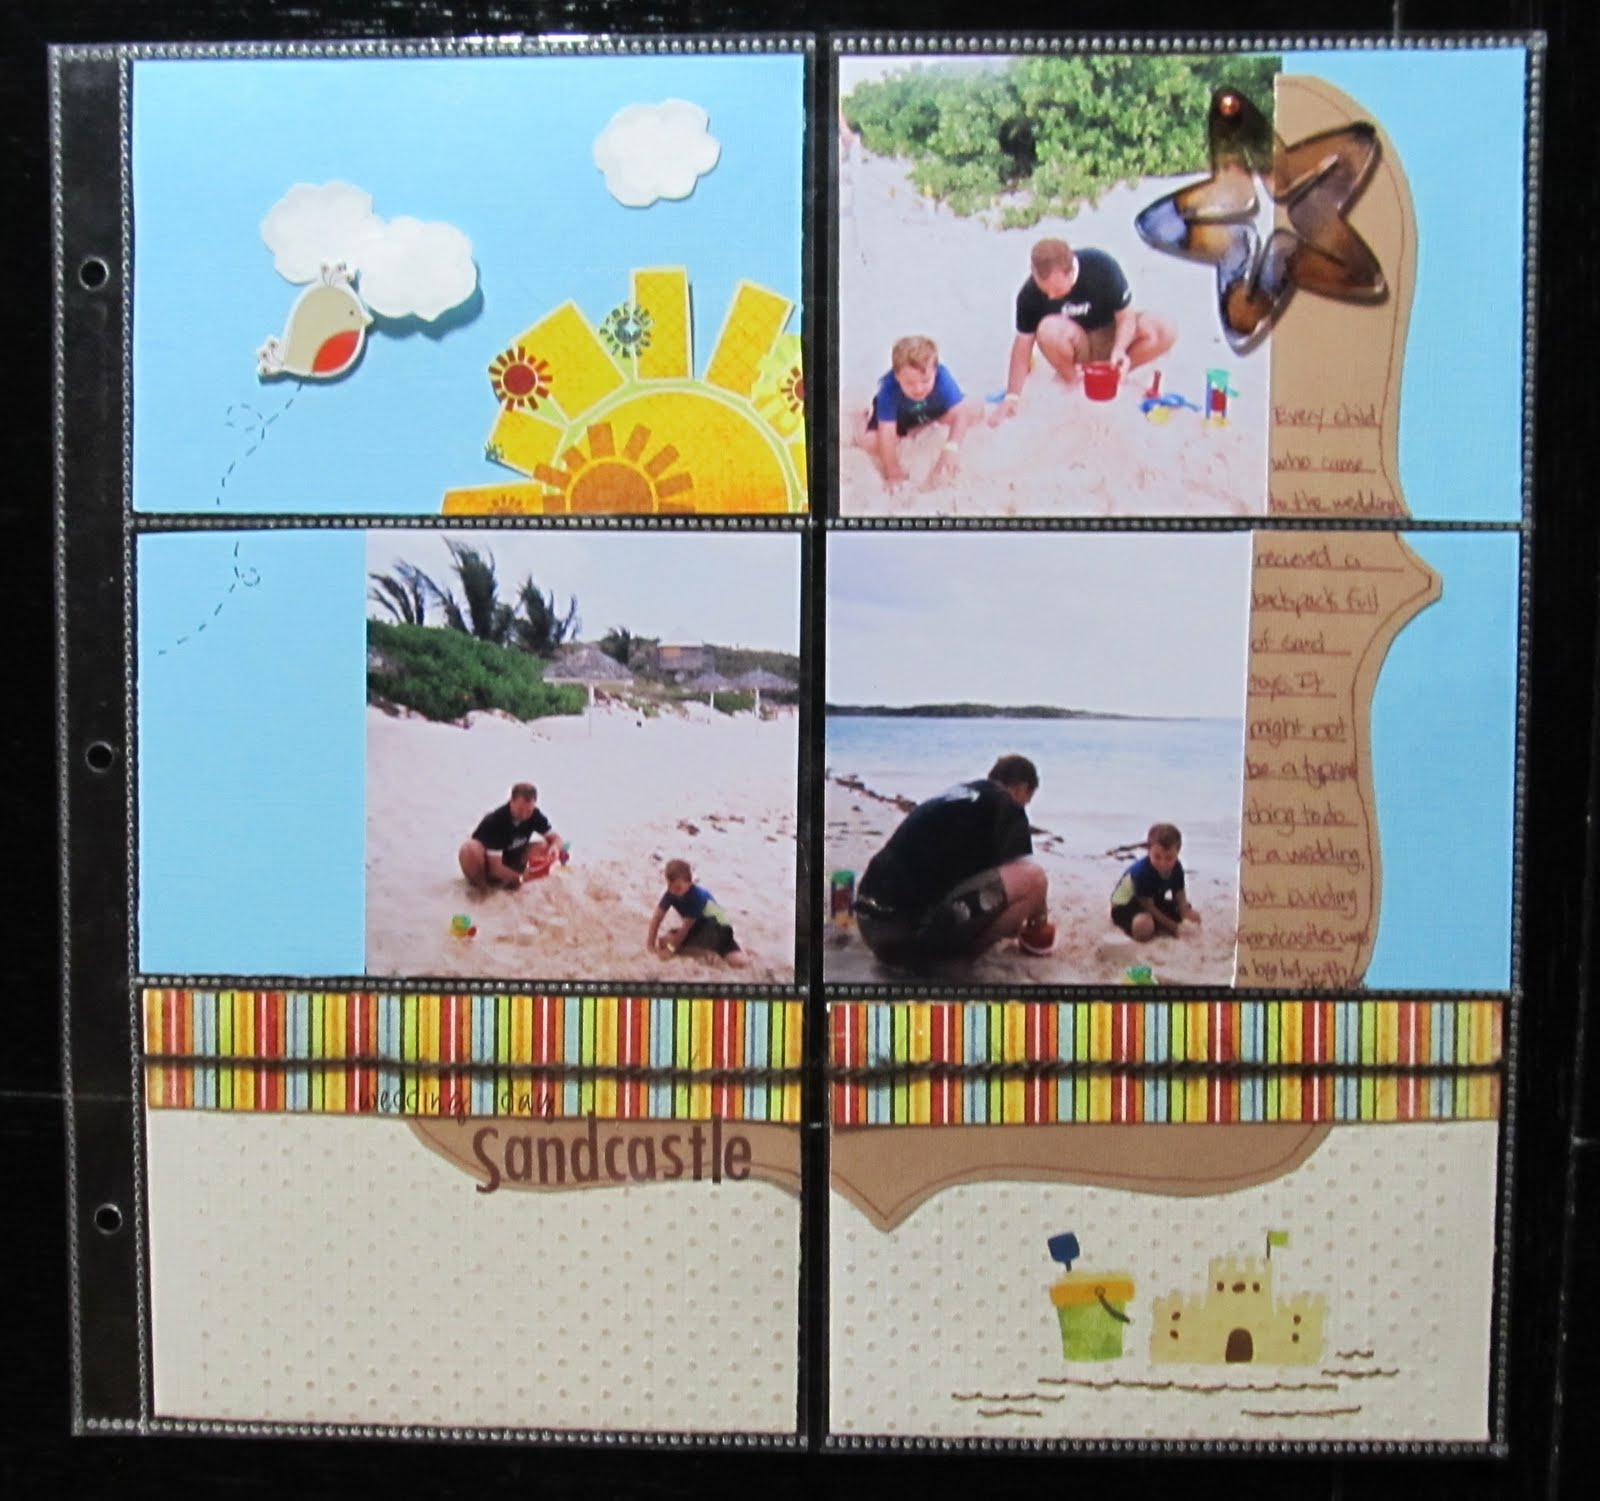 |
| Items from my July counterfeit kit: Fancy Pants Paper and rub on's Making Memories alphas not from kit: Jillibean soup twine dmc floss DCWV chipboard bird Studio G stamp in white inke with clear embossing powder Coredinations CS embossed with swiss dots folder and sanded Colorbok CS Maya Road Acrylic starfish coloured with eggplant and ginger alcohol inks |

Shown above, are the backs of some of the 4x6 blocks. The white sections are the photos. You can also see how I covered page scraps that would otherwise have had gaps or sections missing with other pieces of paper layered over it.
I could have left the tan paper and white clouds plain. However, embossing them gave just a tad more texture to the page. The sand coloured Coredinations cardstock was embossed with swiss dots using my texture boutique. I lightly sanded it to reveal the slightly darker core colour. I chose to use white ink in a cloud shaped stamp with clear embossing powder to add a subtle lining to the clouds. While these would have been just fine plain, this tone on tone embossing gives it a more finished look as does the hand stitching under the sand castle rub on.
Now that I have the hang of working with these type page protectors, I will certainly consider using them more often. I think I will try some soon with one of the kits that are designed for these. Maybe then, I will find I like them even more than I do now.
Fun! I love the sun peeking out!
ReplyDeleteI love all the little details - the stitching under the sandcastle works really well!
ReplyDeleteWhat a great idea! I like how you arranged everything to fit in the pages!
ReplyDeleteThat is so cool. I love this idea of this. Your page came out perfect!
ReplyDelete